Cisco TelePresence Management Server (TMS) has been used on-premise as part of Cisco Meeting Server and Cisco video conferencing device ecosystems for decades.
In conjunction with Cisco, VQ has developed VQ Conference Manager DMA (Device, Management and Automation). DMA is designed as the on-premise device management replacement for TMS.
While DMA’s focus is providing a replacement for TMS, DMA is not designed as a TMS clone. Instead, as with the existing Meeting Services capability of VQCM, DMA brings plenty of ‘features including…
- Directory Services – Includes a ‘folder per address book’ view on Touch and Navigator panels
- Device Configuration – A redefined approach to building, scaling, and managing the complexity of configuration templates for large environments
- Device Maintenance – Advanced endpoint security and certificate management, automation of tasks and workflow and branding/software file storage and management.
- Analytics – Monitor the state of devices with powerful Kibana-based dashboards
- One Button to Push – Schedule meetings through VQ’s user interface, Microsoft Outlook plug-in or custom applications
VQ DMA doesn’t require installing additional servers and there are no major configuration differences compared to TMS. The main differences include specifying user profiles and Access Control ACLs for access to the DMA functionality.
Interested to learn more? In this blog we discuss how to use VQ DMA. Read on for more information.
Page Features and Layout
Let’s look at the DMA user interface (UI).
You’ll notice DMA looks different from the existing VQ Conference Manager Meeting Scheduling and Management pages but the architecture of the VQCM platform is essentially unchanged.
This blog looks at examples of the UI from the administrator role, other roles have more limited access to menus and options within DMA.
Side Bar Main Menu
Let’s look at the DMA user interface (UI).
You’ll notice DMA looks different from the existing VQ Conference Manager Meeting Scheduling and Management pages but the architecture of the VQCM platform is essentially unchanged.
This blog looks at examples of the UI from the administrator role, other roles have more limited access to menus and options within DMA.
Exit

The Exit button is always shown at the bottom of the side bar and will log you out of DMA and return you to the VQ Conference Manager login page.
Navigating through categories in DMA works in a few different ways:
Drop Down
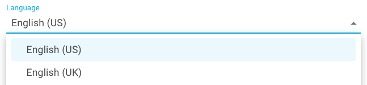
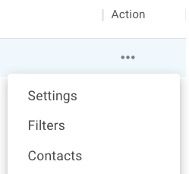
Clicking on fields with a small triangle ‘twisty’ at the end will display a drop-down menu, as will clicking on the three dots shown in any ‘Action’ column.
Lists

You can re-sort most lists in DMA by clicking the title of the relevant column. A small arrow next to the column title indicates whether sorting is ascending or descending.
For lists with a significant number of entries, DMA displays these in pages viewed by < and > arrows at the bottom.
Filters
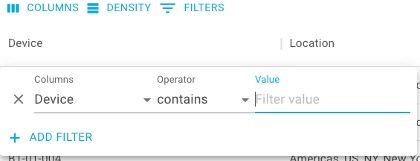
Clicking on the Filter icon above most Device lists will display a filter creation box. This box allows you to filter devices to or from your selection.
Devices can currently be filtered by Name, Location and Label.
Tabs

Some pages in DMA have the option of multiple views, shown as tabs across the top. The active tab is always underlined and highlighted in blue text.
Add to List
Where it is possible (or required) to create or add to a list, the, Add to List ‘+’ icon will be displayed at the top of the list.
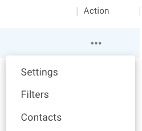
Edit a List Action
The three dots icon is displayed when there are actions available for a list. Clicking this icon will display a drop down action list.
A new URL (https://servername.domain/dma/) has been added to the CM-Admin list to enable users to directly access DMA.
How do I migrate to VQ Conference Manager DMA from TMS?
Migrating from TMS to DMA is relatively straightforward and involves four steps:
- Move all TMS ‘Bookings’ to Conference Manager
- Switch endpoints to use VQ’s Directory Services for Phone Books
- Migrate ‘Persistent’ templates and bulk changes to Device Configuration
- Onboard your devices to VQ Conference Manager DMA
If you want to discuss any of the steps involved in migrating to VQCM’s DMA, please contact us.
Interested in finding out more?
Now that you know the basics, it’s time to set up DMA for your business. This blog is part of a series of blogs about VQ DMA. The others in the series cover: