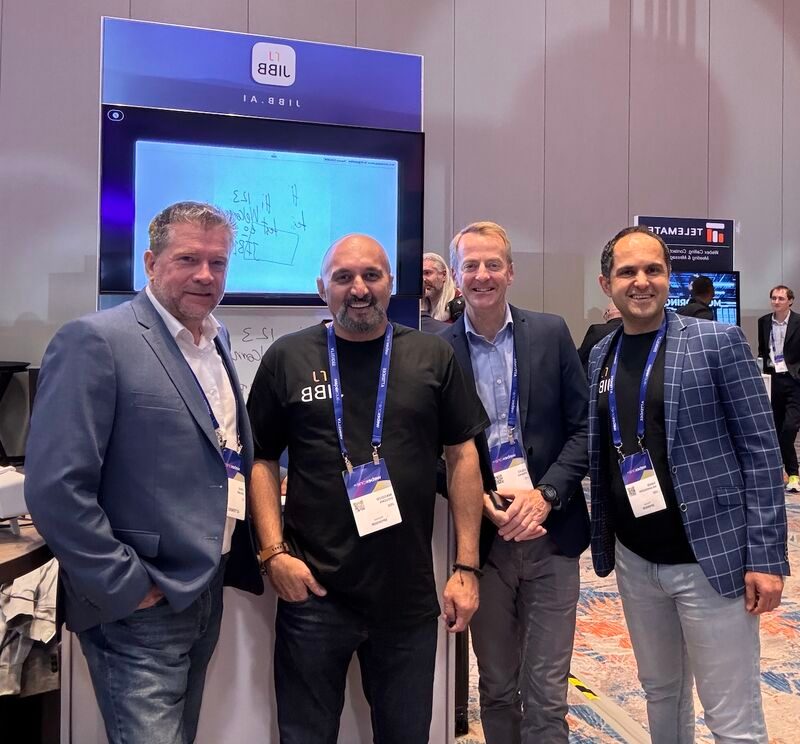
June has been immense for the VQ Team – with one of our most successful showings at Cisco Live in San Diego, the latest instalment of our myth-busting blog series and a well-earned break by the sea to reconnect in person.
This month’s newsletter recaps some of our highlights and points you to our newly refreshed website, where you can dive deeper into the world of secure, self-hosted conferencing.
Read on for:
- Cisco Live US and Giles Adams’ interview with Cisco
- Our blog debunking the myth of ‘limited features’ for on-premise solutions
- An update from VQ’s CEO
- The new, refreshed VQ homepage
Latest from VQ
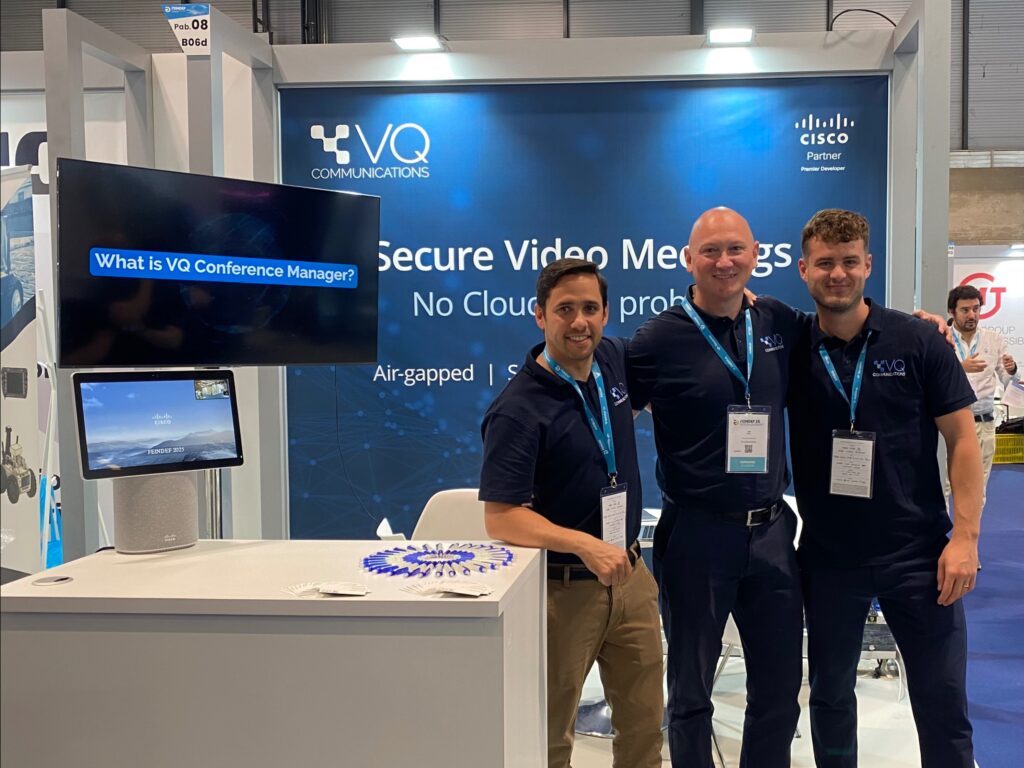
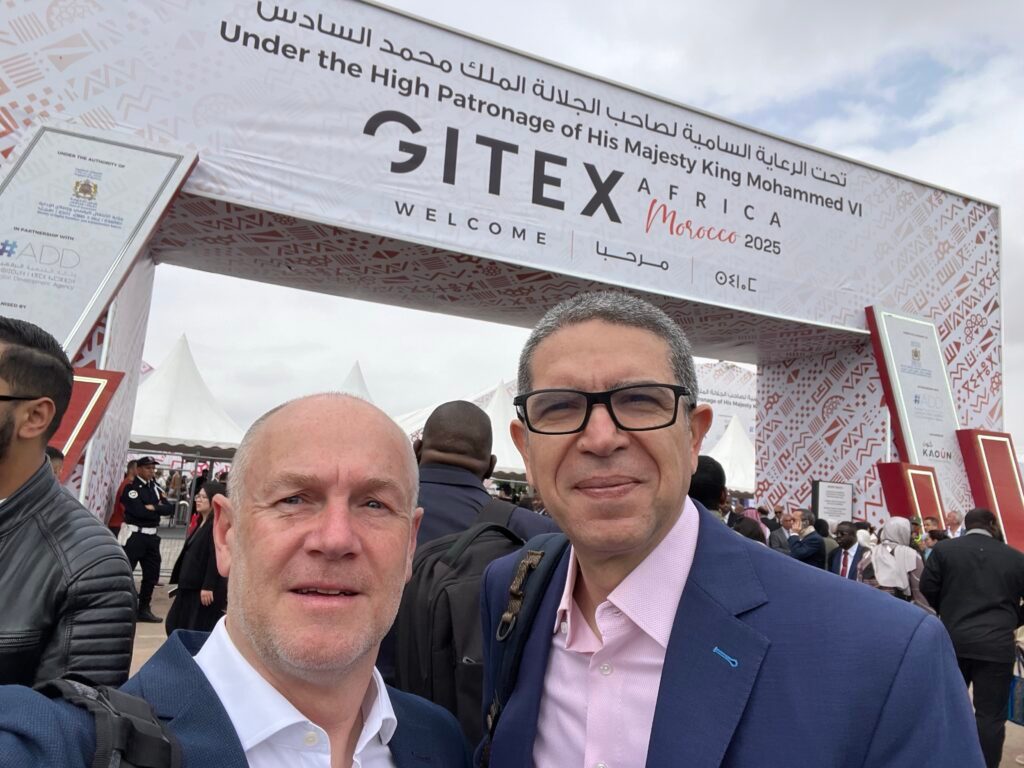
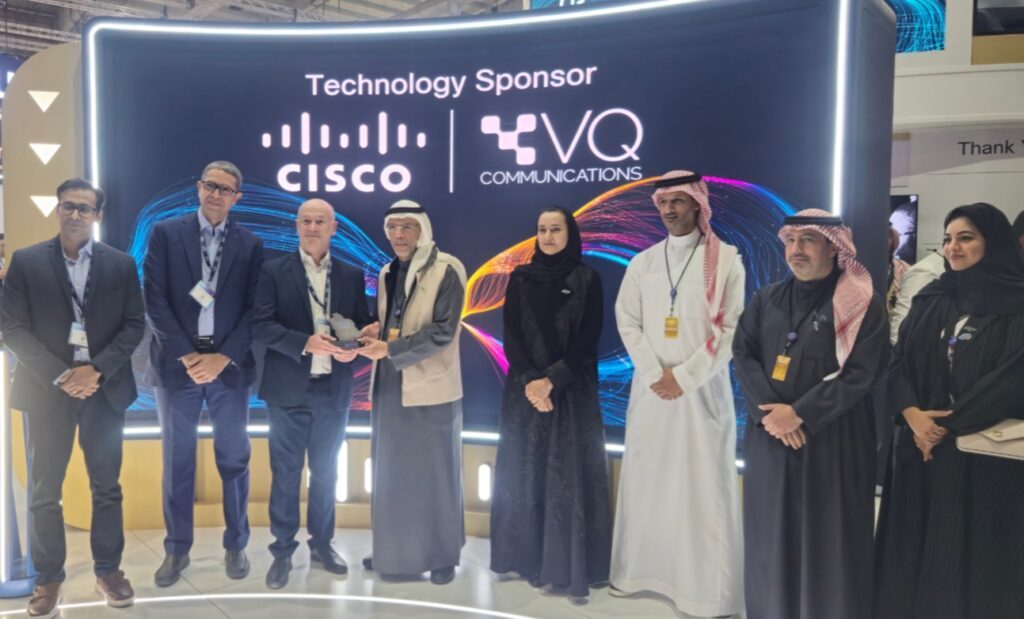
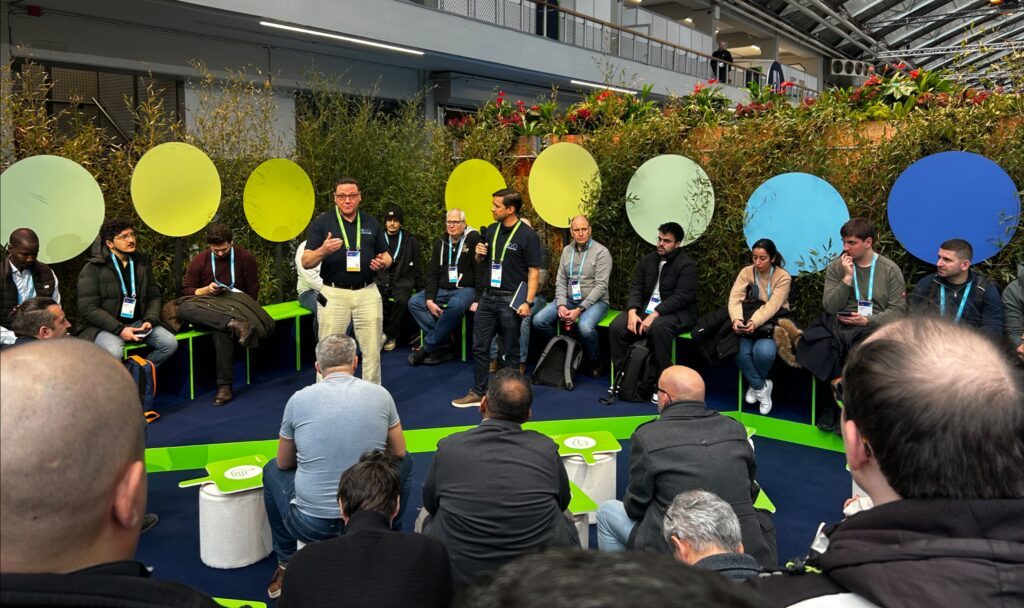
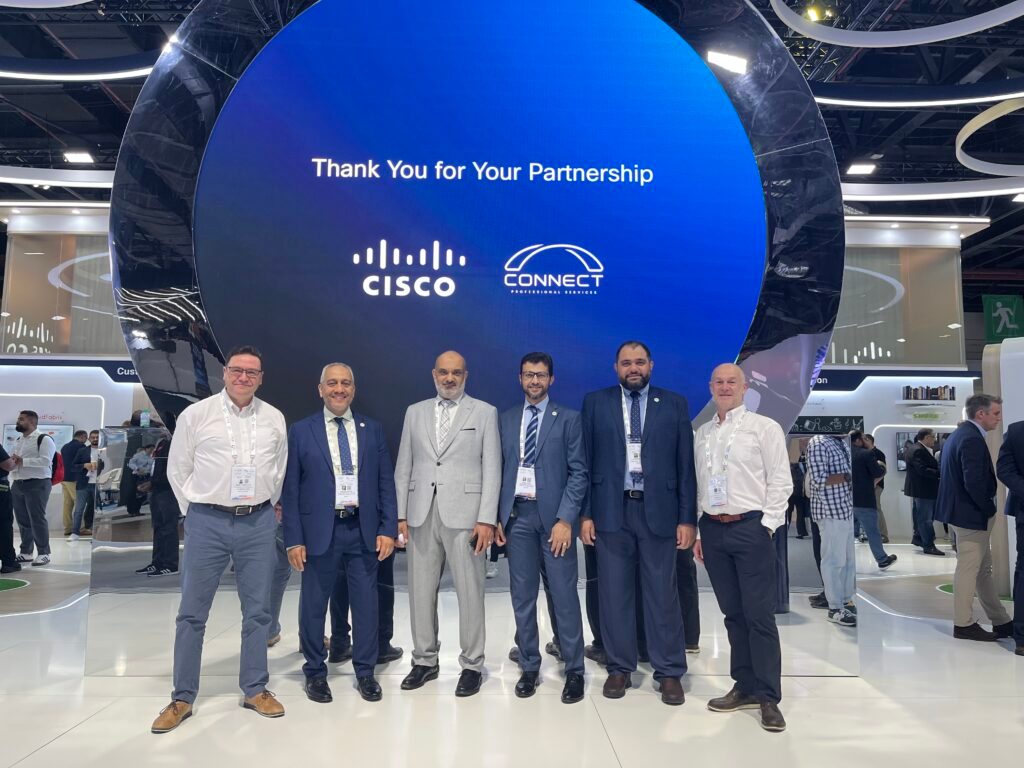
VQ at Cisco Live US – Watch our interview on self-hosted solutions
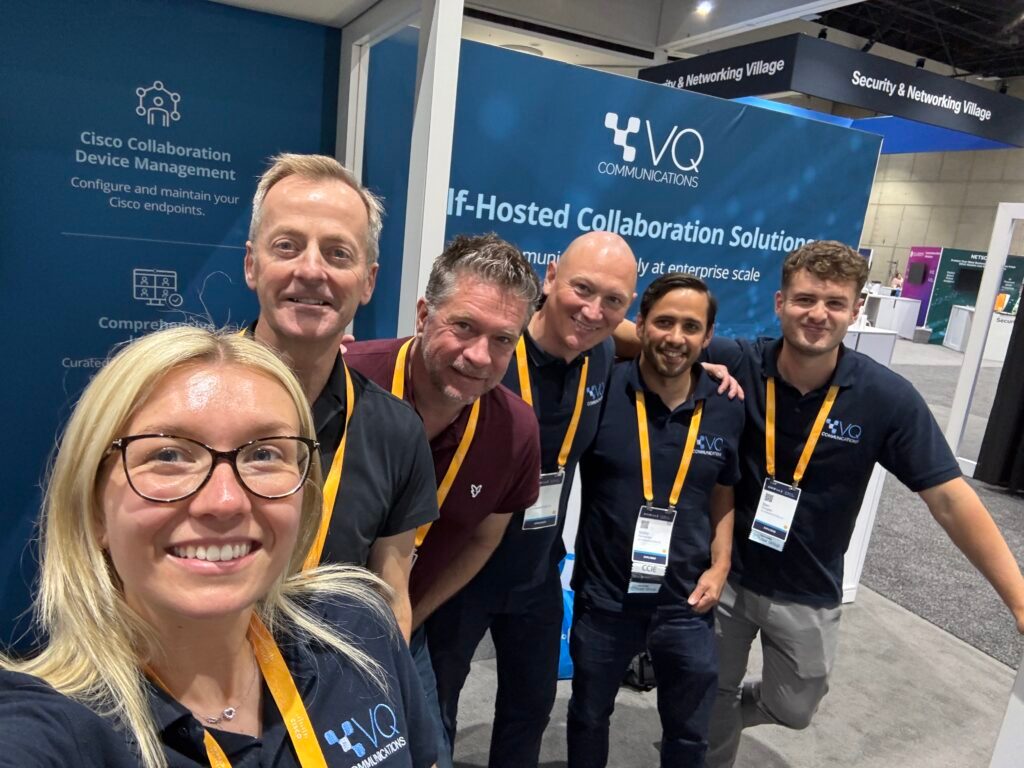
What a week at Cisco Live! The VQ Team spent the week connecting with partners, customers and Cisco to showcase how VQ Conference Manager delivers secure, video conferencing solutions.
If you missed it, don’t worry – Giles Adams, VQ CEO, joined Cisco’s live broadcast to discuss:
- Why on-premise conferencing is thriving
- How VQ supports defence, government and highly secure deployments
- What’s next for the Cisco + VQ partnership
Watch the full interview below!
What’s new at VQ?
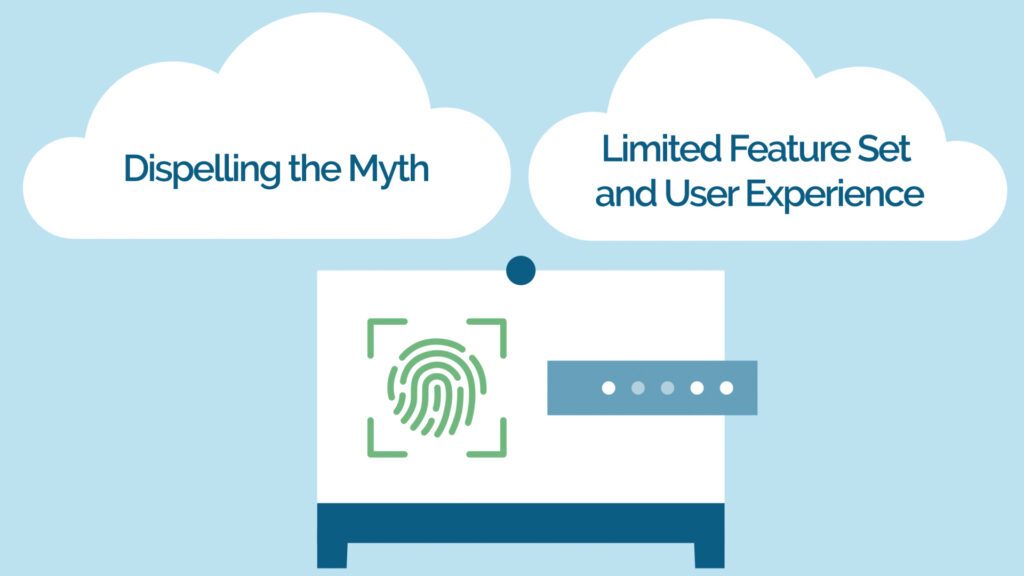
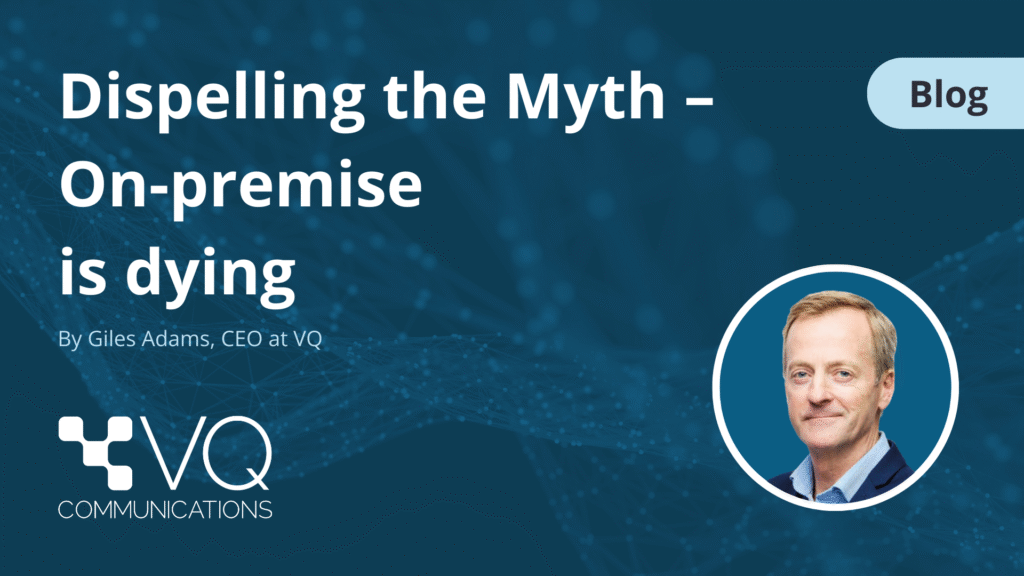
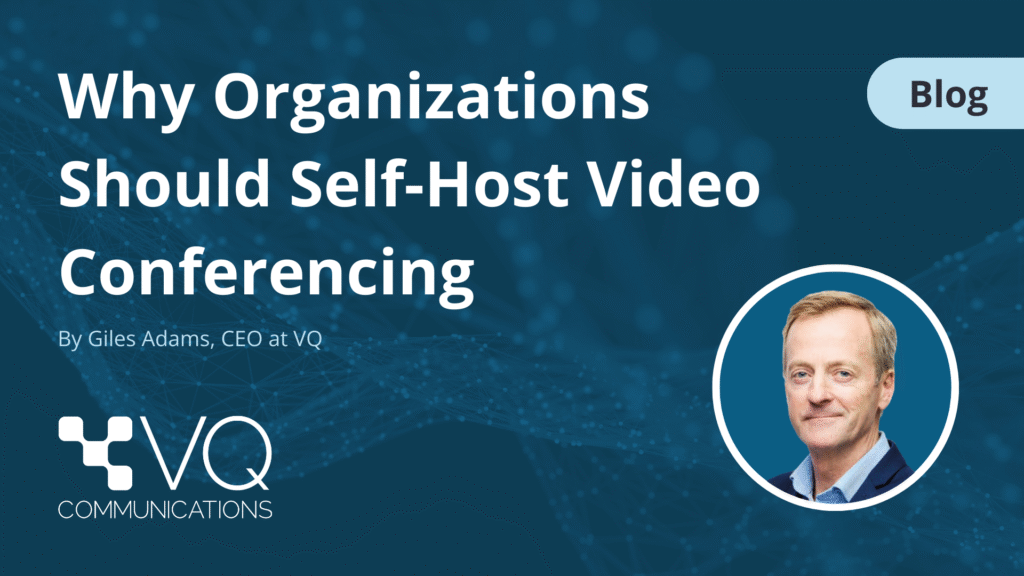
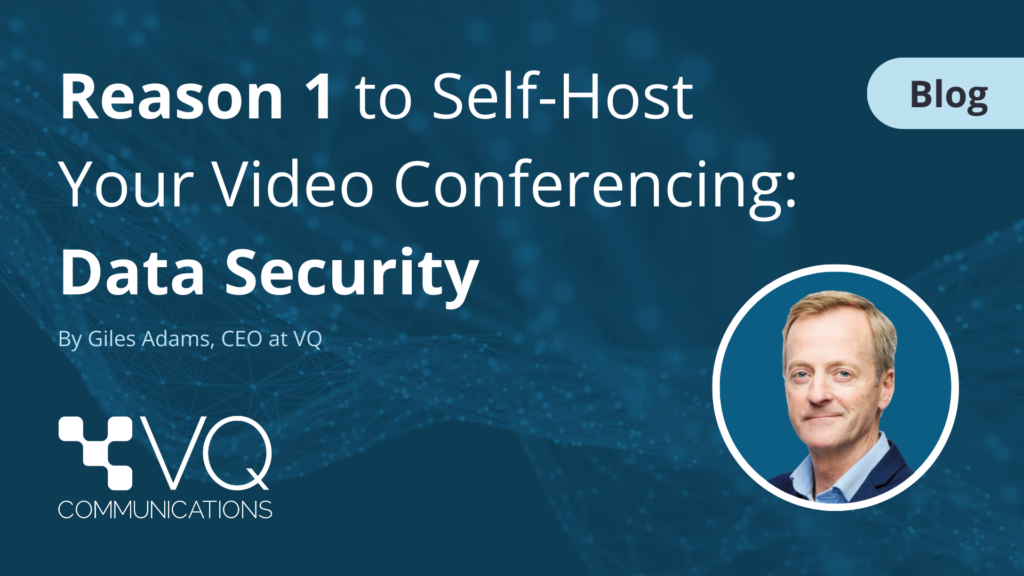
Dispelling the myth: On-prem lacks features
In part two of our blog series tackling myths about self-hosted video conferencing, we address one of the most common misconceptions:
That on-premise means limited functionality or poor user experience.
Not true.
From seamless Cisco Meeting Server integration to transcription and translation, VQ Conference Manager enables organisations to deliver the same polished experience users expect from the cloud – with total control.
Missed part one? Catch up here.
Inside VQ

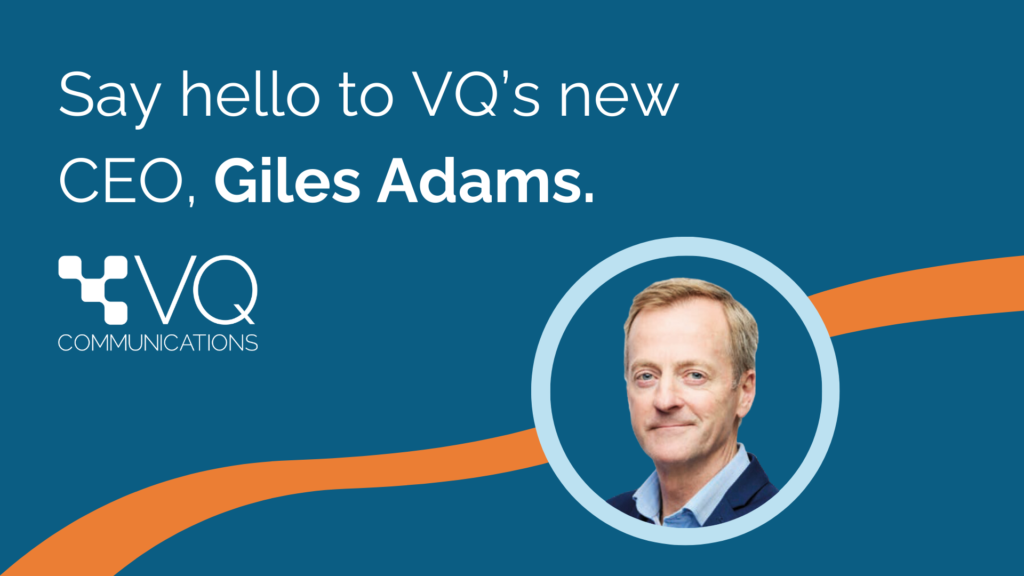
An update from VQ’s CEO
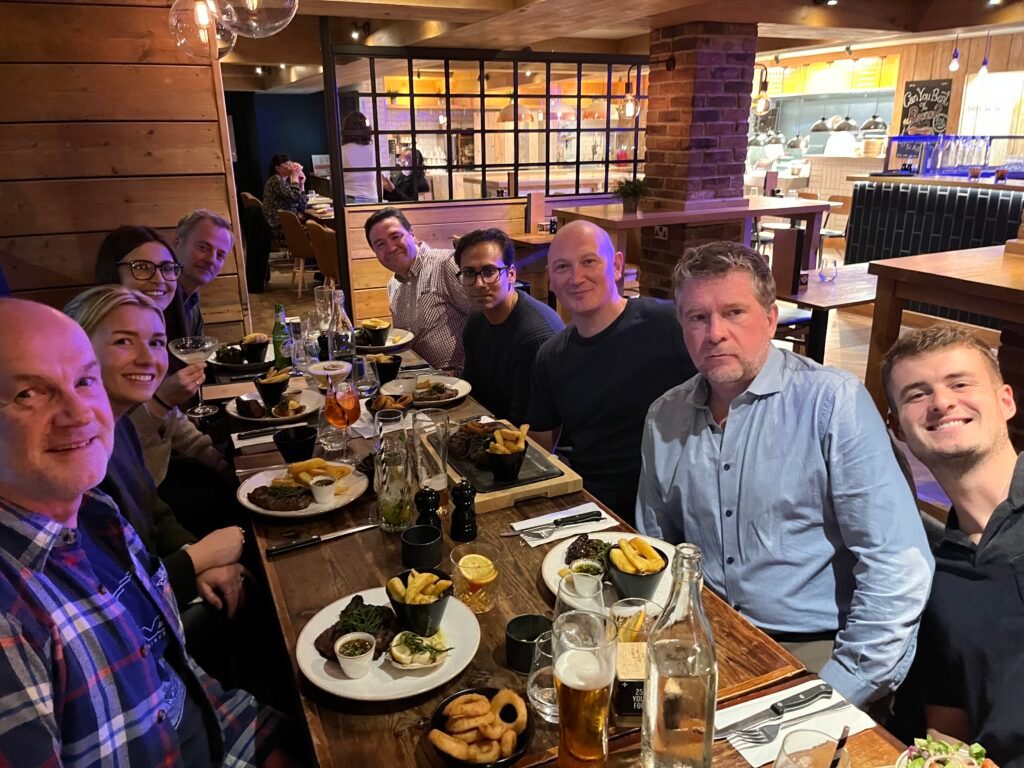
“Earlier this month, the VQ Team took some well-earned time away from screens and servers with a coastal company day in the UK. It was a chance to reconnect and celebrate what we’re building at VQ.
“We’re incredibly proud of the momentum behind VQ right now – from the feedback we had at Cisco Live to the energy at our team day, it’s clear we’re building something that matters.
We want to extend a heartfelt thank you to our customers, partners and community.
Your support continues to shape the future of secure, self-hosted video conferencing.” — Giles Adams, Chief Executive Officer at VQ
Explore our refreshed website
We’ve given vqcomms.com a fresh look, with clearer product overviews and easier access to the resources that matter most.
Take a look and explore what’s new!